


“Certainly, Chardonnay is a classic pairing with roasted turkey. With the smoky, grilled flavors imparted by cooking on the campfire, you could try a bigger wine like our Wild Vitis Vinifera Sangiovese.” – Barrett Family Wines.
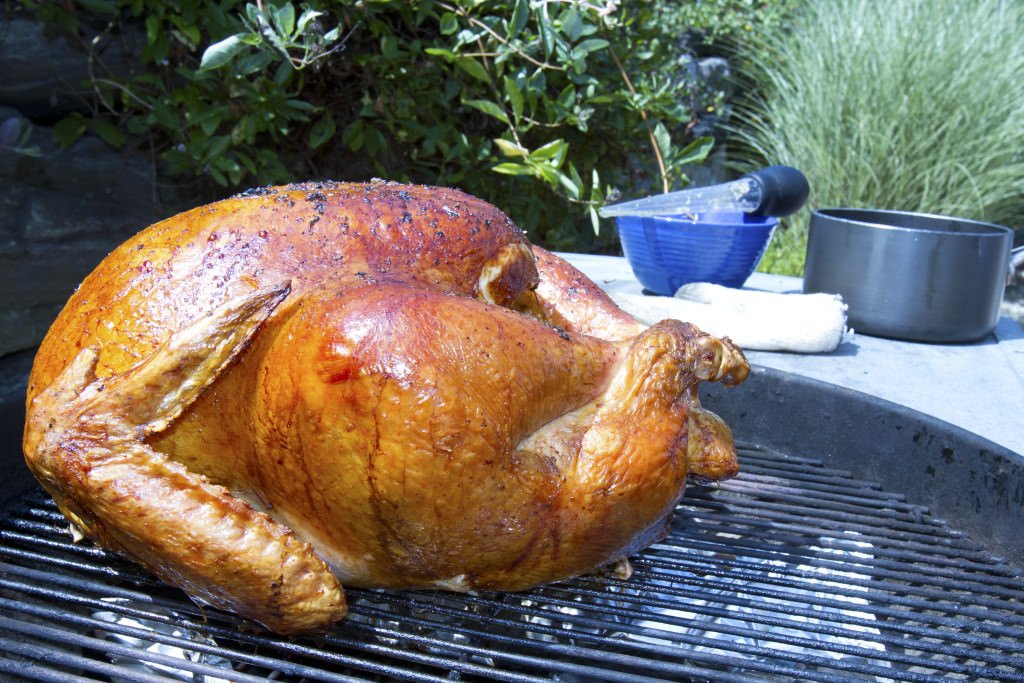
Cooking something as large as a turkey with a campfire poses a unique set of issues. Most important is bringing the entire bird up to a temperature ensuring it’s safe to eat. Foodsaftey.gov says that temperature is 165 degrees for turkey. Next, you want to use a cooking vessel/method that’s going to give you that gorgeous, delicious crispy skin that is the stuff of gourmet magazine photo spreads. It can be done, but you have to think it through from start to finish and be sure you have everything needed on hand.
50 Campfires offers you a couple of options to create a roast turkey feast at the campfire. With care and attention, either one should earn you the “oooohs and aaahhhs” of your dining guests.
Campfire Roasted Thanksgiving Turkey
Cuisine: American
Ingredients
- 12 pound-ish turkey
- Olive oil
- Salt
- Black pepper (freshly medium ground)
- Your favorite turkey seasonings (thyme, sage, garlic, onion, etc.)
- Method 1: Large Dutch Oven
- Wire rack to keep turkey off floor of Dutch Oven
- Remote reading cooking thermometer
- Method 2: Cheesecloth
- Aluminum foil
Instructions
- Start a campfire with hardwood logs like oak, hickory, hard maple, etc. Let it burn for at least an hour to develop a large supply of glowing coals. Alternately, you can start charcoal briquettes in a large starter chimney. It will take about 15-20 minutes for the charcoal to turn grey and be ready for cooking.
- Make sure the turkey is completely thawed. Rub oil thoroughly on exterior and interior of turkey. Sprinkle liberally with salt, pepper, and other seasonings. If you have whole leaf herbs you wish to use, place them inside the cavity of the bird. For food safety, it’s most often recommended these days you do not stuff the bird. An apple, peeled orange, onion, etc. loosely placed in the cavity for flavor is fine, but it’s recommended you do not stuff the bird with traditional dressing; cook that separately on the side.
- Method 1: You need an extremely large Dutch Oven. You should ensure with the rack in the bottom to elevate the bird, the turkey does not contact the sides or the lid of the vessel. There are some extra deep Dutch Ovens with tall lids out there, but even with one of these it can be a close fit. Remember, the Dutch Oven is made to evenly heat its contents all around (just like you’re oven at home). Contact with the cast iron by the bird inhibits the system.
- Assuming you find a Dutch Oven large enough, the rest is pretty simple. Place the turkey in the Dutch Oven, insert the probe of the thermometer into the center of the breast meat making sure it does not contact any bone. String the thermometer’s lead out to the sending unit and place the cover tightly on the Dutch Oven (Camp Chef Dutch Ovens have a special hole in the rim of the lid to accommodate the thermometer lead).
- Place coals below and on top of the Dutch oven and replenish as they turn to ash. A 12-pound turkey will take about three hours to cook this way, but watch the read out! Remove when the internal temp hits 165 F, then allow the bird to rest, covered, for about 20 minutes before you begin to carve.
- Method 2: While the campfire is burning to coals, dig a hole six inches larger than the turkey all the way around.
- Wrap the oiled, seasoned turkey generously with cheesecloth, then with four layers of aluminum foil sealing as tightly as possible.
- Rake or shovel two inches of coals (or charcoal) into the bottom of the pit. Make sure you’re getting coals and not ash. Place the wrapped bird on top of them. Fill in the space around the bird with coals to about two inches above the bird, then top off the pit with earth.
- Time three hours, then remove the soil and ash on top of the package. Insert the probe of the thermometer through the foil and cheesecloth to check the internal temp of the breast. If it’s at least 165 F, then carefully remove the bird from the pit and set aside for 20 minutes of rest. If it’s not up to temp, leave the probe in place and carefully recover with fresh coals and earth. When up to temp, remove and rest.
- After resting, carefully open pack and begin carving.


